
Why This Honey Garlic Chicken Recipe Will Become Your Weeknight Staple
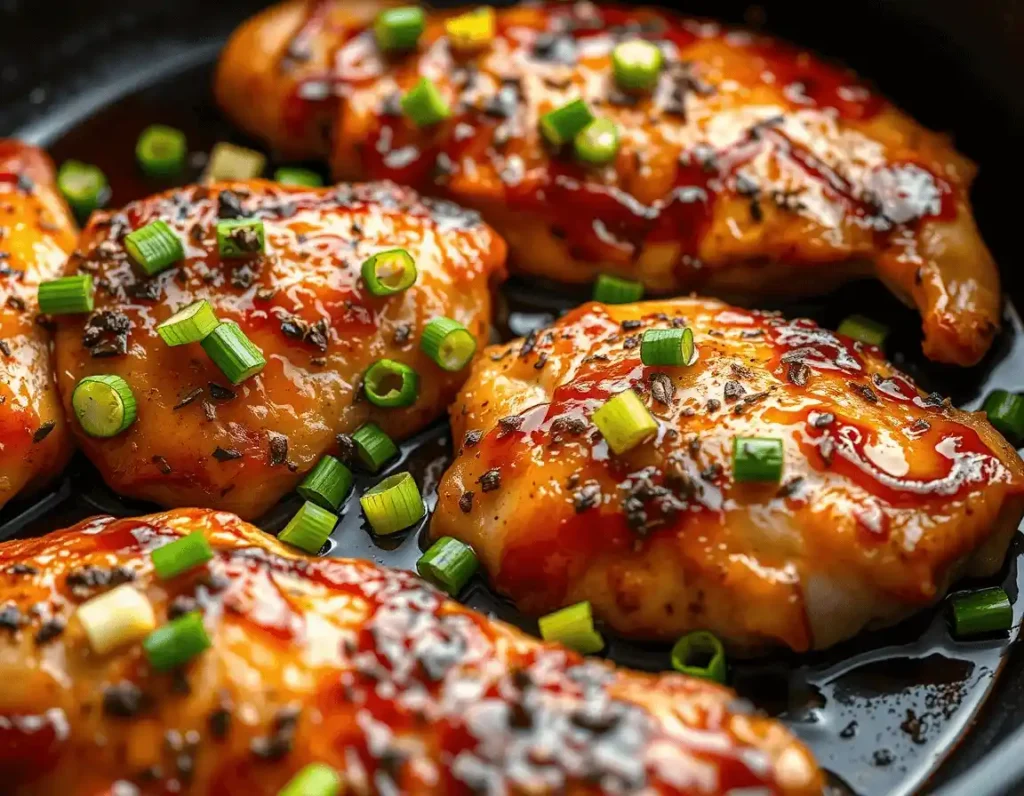
We’ve all been there: weekday dinners can turn into a stressful sprint to the finish line.You’re tired, hungry, and the last thing you want is a complicated recipe with a sink full of dishes. That’s exactly why this honey garlic chicken breasts recipe changed the game for me. Imagine sinking your teeth into juicy, golden chicken smothered in a sticky-sweet garlic glaze—all in 30 minutes, with just one pan. Sounds too good to be true? It’s not.
This dish isn’t just about speed; it’s about flavor that lingers. The first time I made it, my kitchen smelled like a cozy bistro, and my family devoured it before I could snap a photo. Whether you’re cooking for picky eaters or meal-prepping for the week, this recipe delivers crispy perfection every time. Let’s dive into how you can master it.
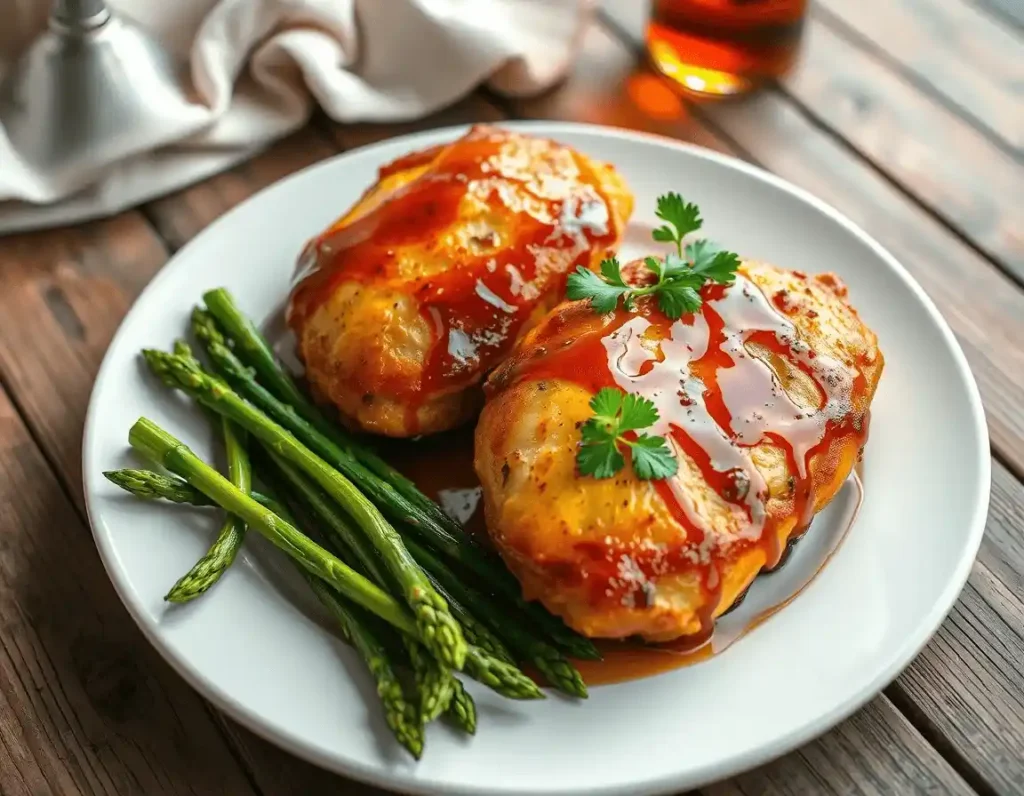
Table of Contents
Ingredients for Honey Garlic Chicken Breasts: Simplicity Meets Flavor
What You’ll Need
| Ingredients | Quantity |
|---|---|
| Boneless, skinless chicken breasts | 4 (6 oz each) |
| Fresh garlic cloves | 6 (minced) |
| Pure honey | ¼ cup |
| Soy sauce (or tamari) | 3 tbsp |
| Extra-virgin olive oil | 2 tbsp |
| Cornstarch | 1 tbsp |
| Smoked paprika | 1 tsp |
| Black pepper | ½ tsp |
Substitutions & Tips
- Gluten-free? Replace soy sauce with tamari (for a richer umami) or coconut aminos (for a slightly sweet, lower-sodium option).
- Sugar-free? Use a keto-friendly syrup like Lakanto Maple Flavored Syrup.
- Craving heat? Sprinkle red chili flakes into the paprika mix for a bold, spicy kick.
Step-by-Step Guide to Crispy, Flavor-Packed Chicken
Prep Like a Pro
- Dry the chicken thoroughly. Pat the breasts with paper towels—this is the secret to a crispy exterior. Moisture is the enemy of browning!
- Season generously. Rub both sides with paprika, black pepper, and a pinch of salt. This builds a flavor base that’ll shine through the glaze.
Sear for Golden Crispiness
- Heat your skillet. Use an oven-safe pan (cast iron is ideal) and add olive oil over medium-high heat.
- Sear the chicken: To prevent steaming, arrange the breasts in the hot pan, leaving space between them.Cook without disturbing for four minutes, allowing the underside to caramelize into a golden-brown crust.Flip gently and repeat on the second side. Hands-off cooking is crucial here—a flawless crust needs time to develop!
Bake to Juicy Perfection
- Transfer to the oven. Preheat your oven to 375°F (190°C). Pop the skillet in and bake for 12–15 minutes.
- Check the temp. Check the internal temperature with a meat thermometer—once it reaches 165 degrees Fahrenheit (74 degrees Celsius), it’s perfectly cooked. No guessing required!Overcooking = dry chicken.
Craft the Honey Garlic Glaze
- Set the chicken aside. After searing, move the chicken to a plate and tent it with foil to lock in heat while you finish the sauce.
- Sauté the garlic. Reduce the heat to medium, add the minced garlic, and simmer until fragrant, about 1 minute. Garlic may burn in a matter of seconds, so watch it carefully!
Pro Tip: For a golden-brown caramelization, finish the glazed chicken under the broiler for 1–2 minutes. Keep a close watch—it can go from perfect to burnt quickly!
Serving Suggestions to Elevate Your Meal
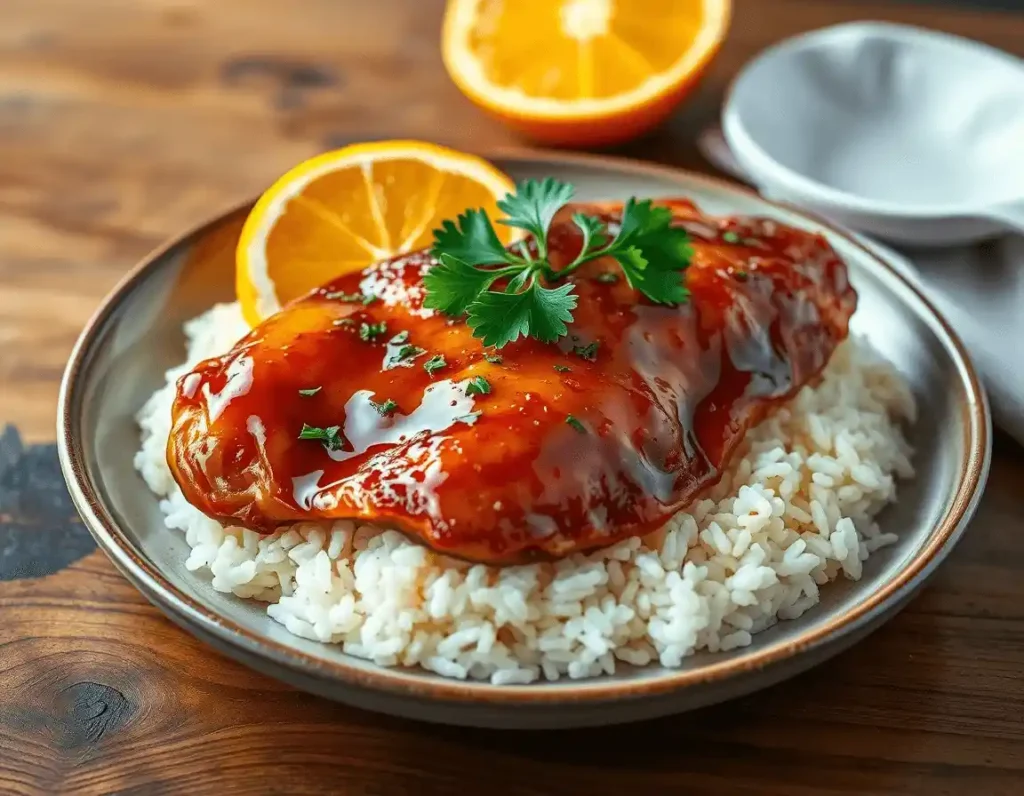
Pair your honey garlic chicken with sides that balance the rich flavors:
- Classic: Fluffy jasmine rice or roasted potatoes.
- Low-carb: Zucchini noodles or cauliflower mash.
- Fresh: A crisp arugula salad with lemon dressing.
- Family-friendly: Steamed broccoli or garlic bread.
FAQs About Honey Garlic Chicken Breasts
Can I use chicken thighs instead of breasts?
Absolutely! Thighs are fattier, so bake them for 20–25 minutes. They’re equally delicious and stay tender.
How do I store and reheat leftovers?
Storing:
Let the chicken cool for ten minutes, then transfer it to an airtight container or wrap it tightly in beeswax wrap. Refrigerate it promptly—it will stay fresh and flavorful for up to three days.
Reheating like a pro:
Skip the microwave (it’ll turn that crispy crust into a soggy mess!). Instead:
- Crank your oven to 350°F (175°C).
- Lay the chicken on a baking tray.
- Warm it in the oven for eight to ten minutes, just until fully heated through—no need to overdo it! The oven’s dry heat keeps that golden crust intact.
Bonus trick: If the glaze looks a little dry, brush on a light coat of olive oil or a splash of broth before reheating.
Is this recipe keto-friendly?
Yes! Use tamari and a sugar-free syrup. Each serving has ~5g net carbs.
Why isn’t my sauce thickening properly?
If your glaze stays runny, whisk in a cornstarch slurry (½ tbsp cornstarch + 1 tbsp cold water) to the simmering sauce. Cook for 1–2 minutes, stirring constantly, until it thickens to a glossy, syrup-like consistency. Cornstarch needs heat and moisture to activate, so patience is key!
Your New Favorite Dinner Awaits
This honey garlic chicken recipe isn’t just a meal—it’s a game-changer. With minimal effort, you’ll create a dish that tastes like it’s from a high-end kitchen. The crispy exterior, juicy center, and addictive glaze will have your family asking for seconds.
Ready to make magic? Grab your skillet and tag us in your kitchen wins—we can’t wait to see your spin on this recipe!
Love quick weeknight dinners? Try these next:
Best Hobo Casserole with Ground Beef – A hearty, budget-friendly dish that’s perfect for feeding a crowd.
Ultimate Creamy Lemon Chicken with Asparagus – A refreshing twist on chicken dinners with bright citrus flavors.
5 thoughts on “Honey Garlic Chicken Breasts: Easy Recipe for Crispy Perfection”
Comments are closed.